The Gadgets That Won't Leave Home: Getting Stubborn Smart Devices to Actually Use Your Extender
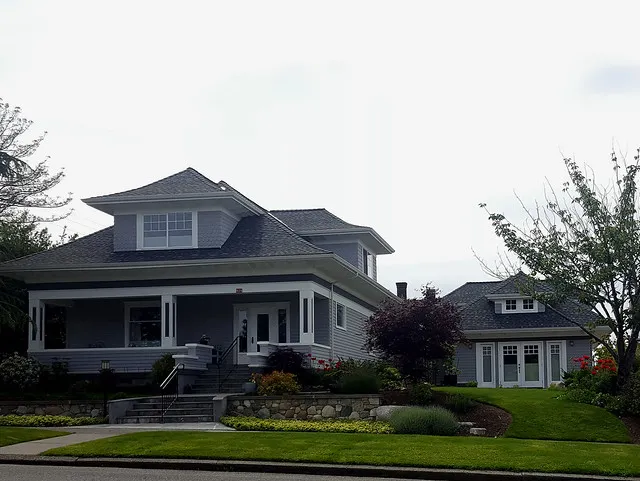
Photo: TaurusEmerald, CC BY-SA 4.0, via Wikimedia Commons
There's a particular kind of frustration reserved for the smart home owner who watches a security camera stream freeze at 2 fps while an extender with a full signal sits quietly in the next room. The extender is fine. The camera is fine. The problem is that the camera has decided, permanently, that it loves the router.
This is a roaming problem, and smart home devices are the worst offenders on your network. The fix is part networking, part security hygiene.
Why IoT Gear Refuses to Roam
Devices roam poorly for reasons that make sense once you see them. A thermostat, doorbell, or robot vacuum cares about three things: staying connected, sipping as little power as possible, and remembering where it is. Many of them make their connection decision once, at setup, and never revisit it. Some can't even scan for a better access point without rebooting.
Meanwhile, your phone and laptop are actively negotiating with the network dozens of times a minute. The thermostat isn't. So when you install an extender, the phone jumps onto it immediately and the camera never does, because nobody told the camera the guest list changed.
The 2.4 GHz Trap
Most budget smart home hardware is 2.4 GHz only, full stop. That matters because 2.4 GHz travels farther and penetrates walls better — which sounds great until you realize the device can hear the router from across the house and sees no reason to switch. Meanwhile the extender in the same room might be broadcasting a network the device considers identical.
If your extender is 5 GHz only, or set to a different band than your IoT gear supports, those devices will never associate with it. Check the specs before assuming the extender is broken.
Single SSID vs. Separate SSIDs
Here's the central trade-off, and it's worth understanding rather than just picking a side.
One network name (band steering on): Your phone roams smoothly between router and extender. Your smart devices mostly don't, because the network looks the same everywhere. Convenient for people, indifferent for devices.
Separate SSIDs (for example, MyWiFi and MyWiFi-Shed): You can now point a specific device at a specific access point during setup. Downside: your phone may hang onto the weaker network until you toggle WiFi, and you'll be doing manual reconnects.
For smart-home-heavy households, a middle path works best: keep one SSID for phones and laptops, and give the extender a clearly named network that you assign only to devices that need pinning. It's not elegant, but it's reliable.
Legacy and Compatibility Modes Are Not Optional
A lot of IoT hardware still negotiates on older standards. If your access point or extender drops legacy support, those devices may connect intermittently or fail entirely — often showing as "offline" in the app while blinking cheerfully in real life.
Look for a compatibility or mixed-mode setting in the extender's admin page. Also check encryption: some older gadgets simply cannot handle WPA3 and will silently fail to join. Running WPA2/WPA3 mixed mode is usually the practical answer.
A Step-by-Step Audit
- List every device and where it lives. Include the model number if you can find it. You can't fix roaming you haven't mapped.
- Write down each device's signal strength. Many router and extender admin pages show connected clients with RSSI in dBm. Anything worse than about −70 dBm is asking for trouble.
- Match weak devices to the nearest access point and decide whether to pin them to a named network.
- Give fixed addresses. A DHCP reservation on the router prevents the classic "works for three weeks, then drops forever" scenario caused by IP changes.
- Set static channels. Auto-channel selection is great in theory and chaotic in practice, especially when the extender and router keep hopping onto the same channel.
- Power-cycle in the right order. Router first, wait two minutes, then the extender, then the devices. Weirdly effective.
- Update firmware on both the extender and the devices. An alarming number of "roaming failures" are firmware bugs.
The Security Half of the Equation
Every IoT device you add is a small computer with a login, often a crummy one, and often a decade behind on patches. That's an argument for isolating them.
Put your smart home gear on a dedicated network or guest SSID where possible. That way, a compromised $25 plug can't wander over to your laptop's file shares. Some routers offer an IoT-specific network with client isolation turned on by default — use it.
A few habits worth adopting today:
- Change default credentials on every camera and hub, and disable remote access unless you actually use it.
- Check what your cameras are calling home to. If a device talks to a server you don't recognize, ask why.
- Turn off UPnP on your router unless a specific service requires it.
- Re-check after adding an extender. A newly added access point can inadvertently stretch your network's reach — including into a neighbor's range.
When to Move the Extender Instead
Sometimes the audit reveals the real issue: the extender is in the wrong place for the devices that need it. Doorbells and outdoor cameras live on exterior walls, which are the worst spot for signal. If your extender is sitting in an interior hallway, it's not helping the front porch no matter how many settings you tweak. Move it toward the exterior wall that needs coverage, then re-run the audit.
And if a device still won't cooperate after all this? A $20 smart plug on a schedule that power-cycles it nightly will solve more stubborn-device problems than any setting in the admin panel.