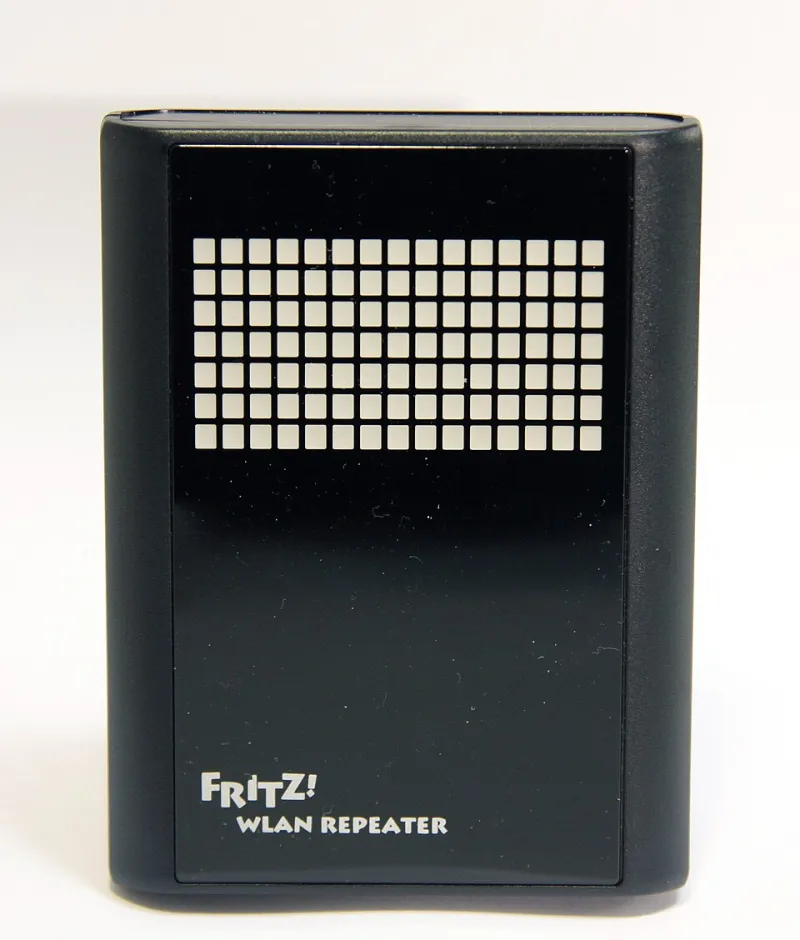
No Holes, No Hassle: A Renter's Playbook for Better WiFi in a Place You Don't Own
Photo: Al12si, CC BY-SA 4.0, via Wikimedia Commons
Renting comes with a specific flavor of WiFi frustration. You can't move the router because the coax jack is exactly where the cable company left it in 2011. You can't drill through a wall to run Ethernet. And the one spot where the signal actually reaches is behind a bookshelf you'd have to anchor into drywall you don't own.
Here's the good news: most apartment WiFi problems are solved with placement, not power tools. What follows is the renter-safe version of the usual advice.
Accept the Router's Address Before You Blame the Extender
Your extender has to live inside the router's usable coverage. Not the edge of it — comfortably inside. In an apartment, that usually means the extender goes in the hallway or the room adjacent to the router, not in the bedroom that's already struggling. If the router sits in a closet or a corner behind a TV, spend ten minutes pulling it out into open air and up off the floor before you buy anything. That single move fixes more apartments than any extender on the market.
You can usually do this without landlord drama: the coax and power are still where they were, you're just relocating the box a few feet and tidying the cable with adhesive clips.
Adhesive Is Your Friend, Within Reason
Command strips, removable mounting tape, and adhesive cable clips are the renter trifecta. They'll hold a 1–2 pound extender or a mesh node on a wall, a windowsill, or the side of a cabinet without leaving a scar.
A few things to know before you stick anything up:
- Weight limits matter more than the label claims. A small extender is fine. A mesh node with a chunky power brick dangling from it is not. Support the brick separately.
- Skip painted-over wallpaper and fresh paint. Both peel. Wait a few weeks after a repaint, and test in a hidden corner first.
- Heat is the enemy of adhesive. Don't mount directly above a radiator, baseboard heater, or the back of a running television. Warm adhesive creeps, and your extender ends up on the floor at 2 a.m.
The Outlet Rule Renters Learn the Hard Way
Wall-wart extenders plug straight into a receptacle, which feels like a free pass on mounting. It isn't. Two mistakes dominate:
- Plugging into a power strip. Surge protectors and cheap strips add noise and can genuinely degrade performance. Go straight into the wall.
- Using the lowest outlet in the room. WiFi radiates outward and slightly downward, but furniture, rugs, and the metal box of the receptacle itself all eat signal. An outlet at knee height is dramatically worse than the same extender on a shelf at chest height.
If your only free outlet is low and behind a couch, use a short heavy-gauge extension cord to lift the extender onto a shelf or a stack of books. Ugly? Slightly. Effective? Very.
Cable Routing That Survives a Walkthrough
Renters get dinged for holes, staples, and mystery cables stapled along baseboards. Keep it clean:
- Cable raceways (the peel-and-stick plastic channels) run Ethernet or coax along a baseboard and look intentional.
- Route over doorframes, not under doors. A cable tucked into the hinge side of a doorframe survives daily traffic better than one under a rug, where it fails silently after a year of footfalls.
- Never run cable under carpet or across a walkway without a proper cord cover. Besides the trip hazard, crushed cable loses throughput fast.
- Label both ends. When you move out, you'll thank yourself.
When Walls Win: Coax and Powerline
Sometimes the room you need is two walls and a kitchen away, and no amount of adhesive heroics helps.
MoCA is the sleeper option in rentals. If your unit has coax jacks in more than one room, MoCA adapters turn that existing wiring into a near-Ethernet backbone. Speeds are typically far more stable than WiFi repeating, and you're not asking permission from anyone. Cost is usually $120–$180 for a pair of adapters in 2026.
Powerline is the fallback, and it's genuinely hit-or-miss in apartments. It only works well when both outlets are on the same circuit and the run is short. In older buildings with shared or oddly split panels, you may see performance that's no better than a mediocre extender. Buy from a retailer with a generous return policy, and test within the first week.
The Return-Window Test
This is the part almost everyone skips. Before you commit, run a real test:
- Baseline first. With the extender unplugged, run three speed tests and note the signal strength in the problem room.
- Install and re-test in the same room, same time of day, same device.
- Compare latency, not just speed. If download numbers jump but ping and jitter get worse, video calls will still stutter.
- Test at 8 p.m. Apartments are a shared medium. A configuration that sings at 10 a.m. can collapse when forty neighbors get home.
If the numbers don't clearly improve, pack it up. A 14-day return window is a feature, and there's no prize for loyalty to a device that didn't earn its outlet.
Dense-Building Problems Nobody Warns You About
Apartment buildings are a radio traffic jam. Two dozen networks crowd the 2.4 GHz band, and your extender can end up repeating interference instead of useful signal. Scan for the least-congested channels, prefer 5 GHz for anything that supports it, and don't be surprised if a neighbor's new router ruins a setup that worked fine last month. That isn't your extender failing — it's the building changing around you.
The Short Version
Get the router out of its cave. Place the extender high, in open air, plugged into the wall. Mount with removable adhesive. Route cables like you plan to get your deposit back. Test before the return window closes, and if coax is available, seriously consider MoCA over yet another repeater. None of it requires a drill, and all of it is reversible on move-out day.